How To Measure, Install, and Style Drapery
Your go-to DIY guide on how to incorporate drapery into your home
Why Drapery is a Top Choice for Window Treatments
By now you should know when it comes to window treatments, drapery is a go-to window covering option that ties a room together. Not only does it add visual texture and dimension, but drapery also blocks light, creates privacy, and helps to muffle noise.
But once you decide on the drapery for your home, the key to achieving the perfect aesthetic lies in knowing how to measure drapery, install drapery and style your curtains. Whether you’re a seasoned decorator or a DIY enthusiast, this guide will walk you through the essential steps (plus best practices!) to ensure your curtains look their best when hung.
Step-by-Step Guide: How to Measure for Drapery
STEP 1: Tools You’ll Need for Drapery Measurement
Gathering the tools you’ll need for the job and having them within reach are key. Before diving into your drapery measurements, make sure to have these common tools and materials on hand:
Measuring Tape: A reliable measuring tape is best for obtaining accurate measurements. We recommend using a metal measuring tape as metal isn’t vulnerable to stretching like plastic.
Step Ladder: Be sure your ladder is tall enough for you to easily reach where you intend to hang your curtain rod.
Notepad & Pen: Keep a notepad to easily jot down measurements. A pencil is also safe to use on your wall to mark curtain height, width, and bracket location.
Lastly, be sure to clear the area by removing any obstacles or furniture that may hinder your drapery measurement.
STEP 2: How to Measure Window Width for Drapery
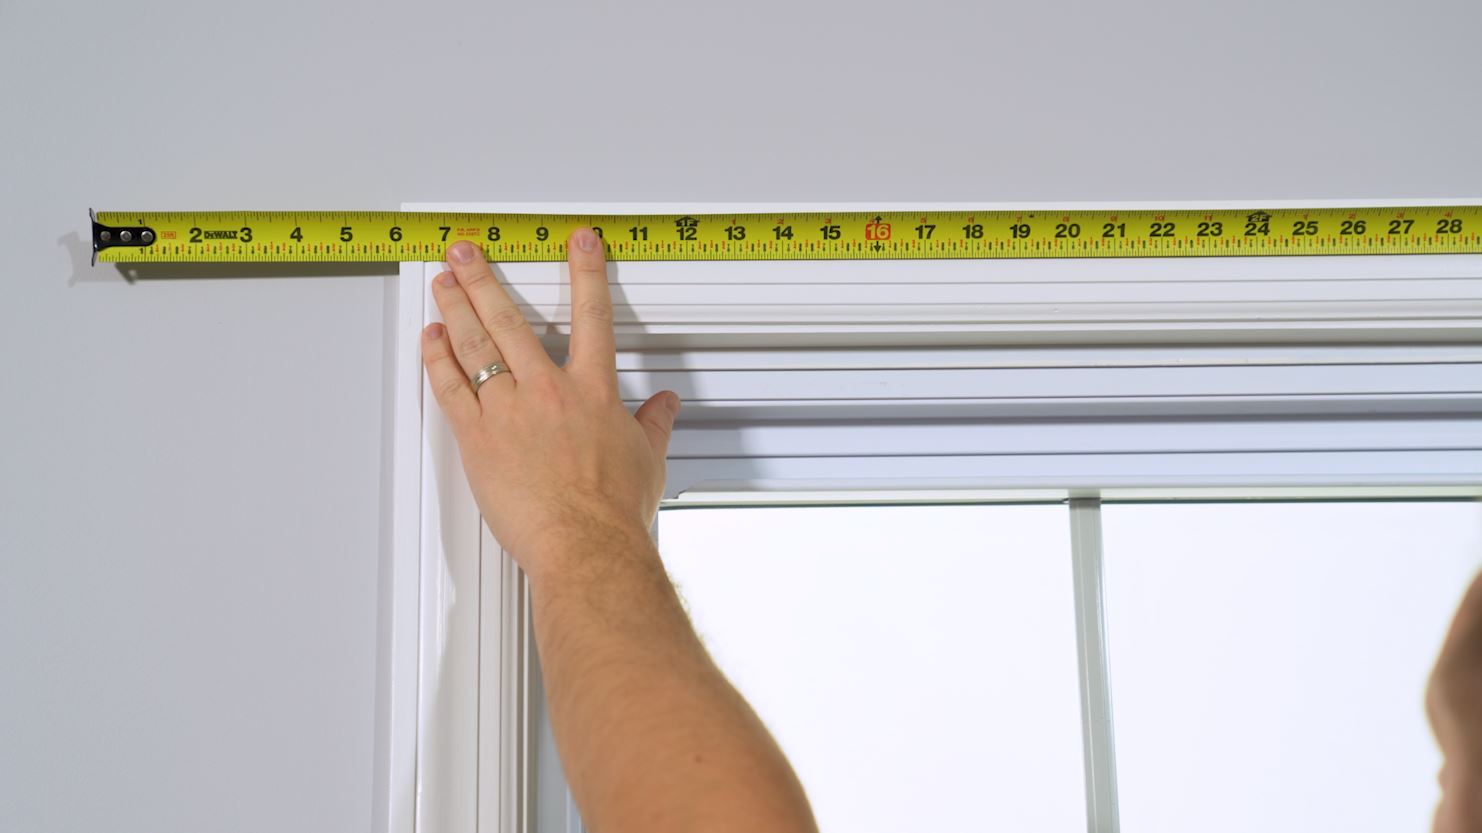
Once you’ve gathered your materials, the next step in how to measure for curtains is to measure your window’s dimensions.
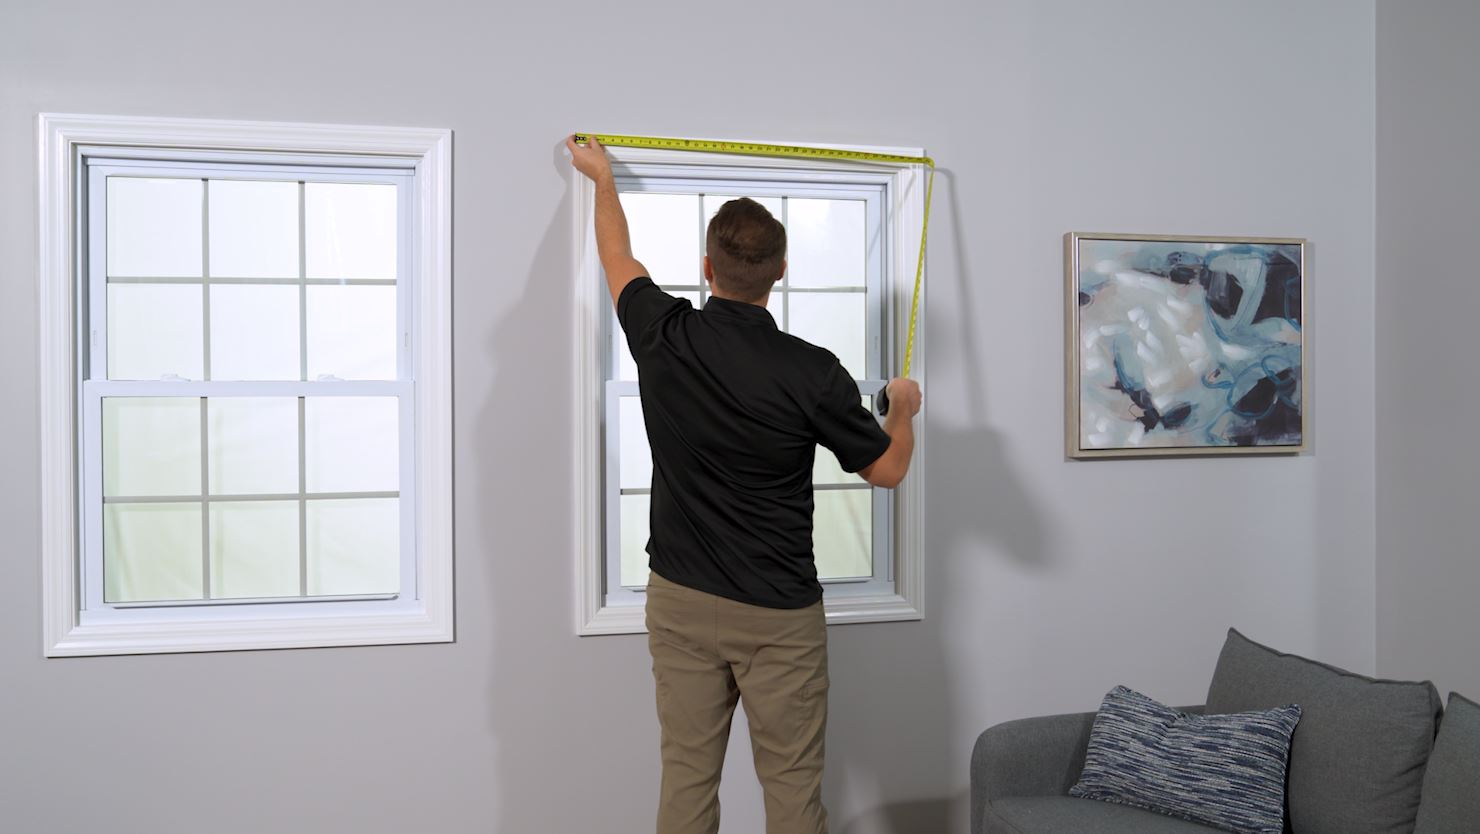
The standard window width is measured from left to right. Using your measuring tape, start by measuring the width of your window from one side of the frame to the other for a baseline. If your window has molding around it, measure from the outer edges of the molding. We recommend adding at least 6 inches (3 inches per side) or more to the measured width for your ideal bracket placement.
For example: if your window measures 48”, add 6” for a total width of 54”.
This addition not only ensures your drapery rod fits in the allotted window space but also enhances the overall aesthetic of creating a graceful look with the drapery of your choosing. Finalize your width by writing down the total on your notepad.
STEP 3: How to Measure Curtain Length for Different Styles
The length of a curtain is measured by the span of space that you’d like the drape to cover — whether that’s just the window or all the way to the floor. Check out standard curtain lengths to know more about it. Curtain measurements vary depending on your style and can also be adjusted by moving the curtain rod.
To measure the drapery length, begin at the top of the window frame and measure down to where you’d like the curtain to hang. With several options for how far you’d like your curtains to extend, the choice is mostly dependent on your preference:
Sill-Length: A shorter curtain style that hangs just above or at the windowsill, this drapery idea is ideal for spaces like kitchens, bathrooms, and basements.
Floating: Known as a popular drapery style, this clean look allows curtains to float just above the floor.
Break: This style of drape is ideal for hiding uneven floors, featuring a break that allows curtains to kiss the floor.
Puddle: Also known as pool, this drapery style features a lush pile of fabric for a luxurious look.
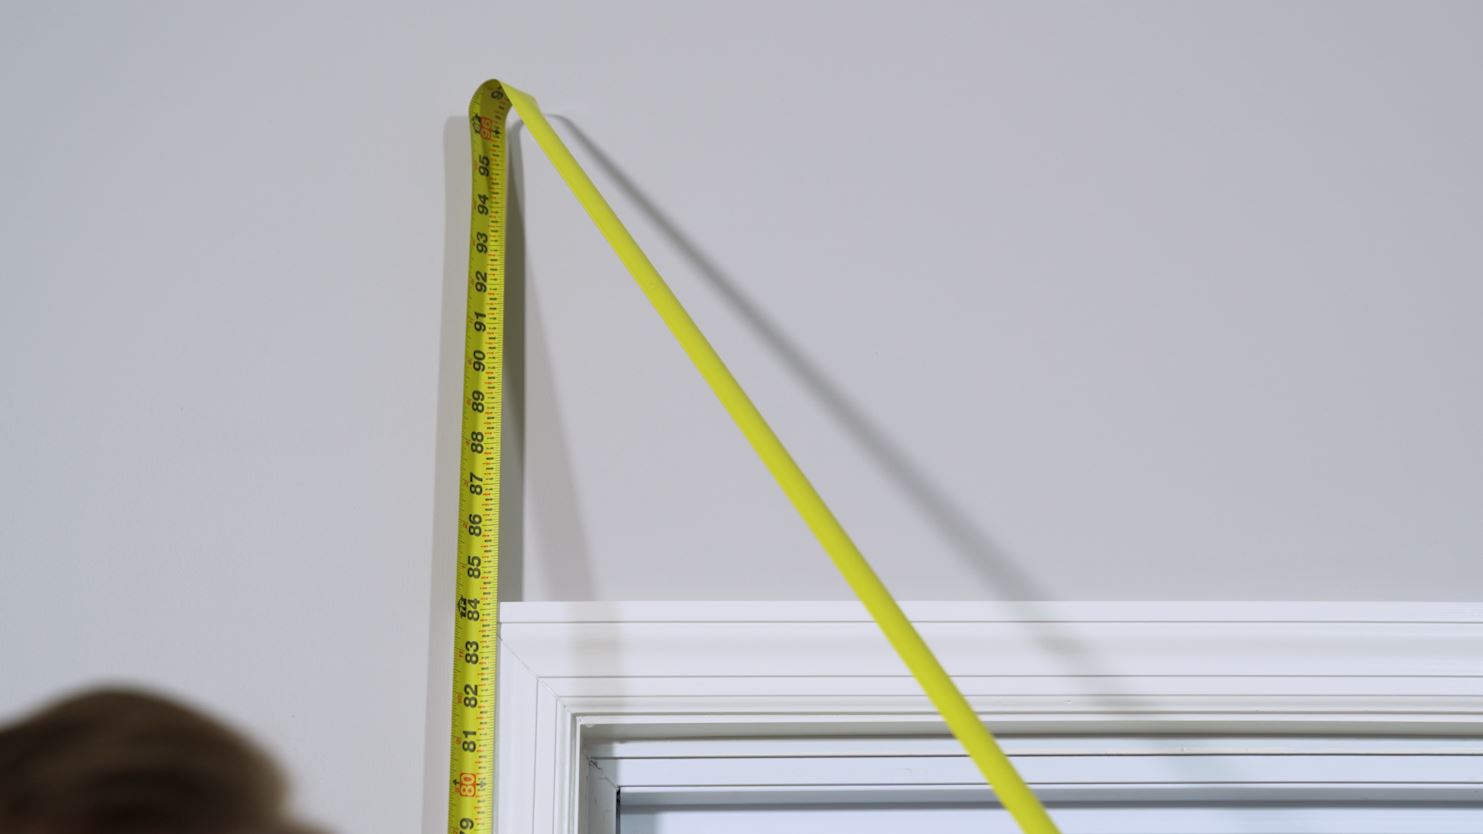
Like the width, be sure to add at least 6 inches to the curtain length. This addition adds a dramatic touch to your space and prevents your curtains from appearing too short. Finalize your length by writing down the total on your notepad.
STEP 4: Reviewing and Finalizing Your Drapery Measurements
Once you’ve written down your curtain length and width, be sure to review your measurements to ensure accuracy for a full and finished look.
Click here for the full tutorial on how to measure for curtains.
DIY Guide: How to Install Drapery (Drapery Installation)
Now that you know the fundamentals of how to measure for drapery, it’s time to let your curtain installation skills shine. If you’ve chosen to go without drapery installation services and would rather self install, we’ll guide you through each step! First things first, you need to have the right tools on hand.
STEP 1: Essential Tools for Drapery Installation
Drill
Step Ladder
Allen Key
Stud Finder
Notepad & Pen
STEP 2: How to Mark Bracket Placement for Drapery
Next, you want to determine where you’re placing your brackets. A good rule of thumb is to add 6 or more inches outside your window frame and mark the location. Then, consider how high you want your brackets. Keep in mind the curtain length measurement you previously wrote down and mark that location.
Need additional tips for hanging your curtains correctly? Check out more ways to elevate the look in your home.
STEP 3: How to Mount Bracket for Drapery
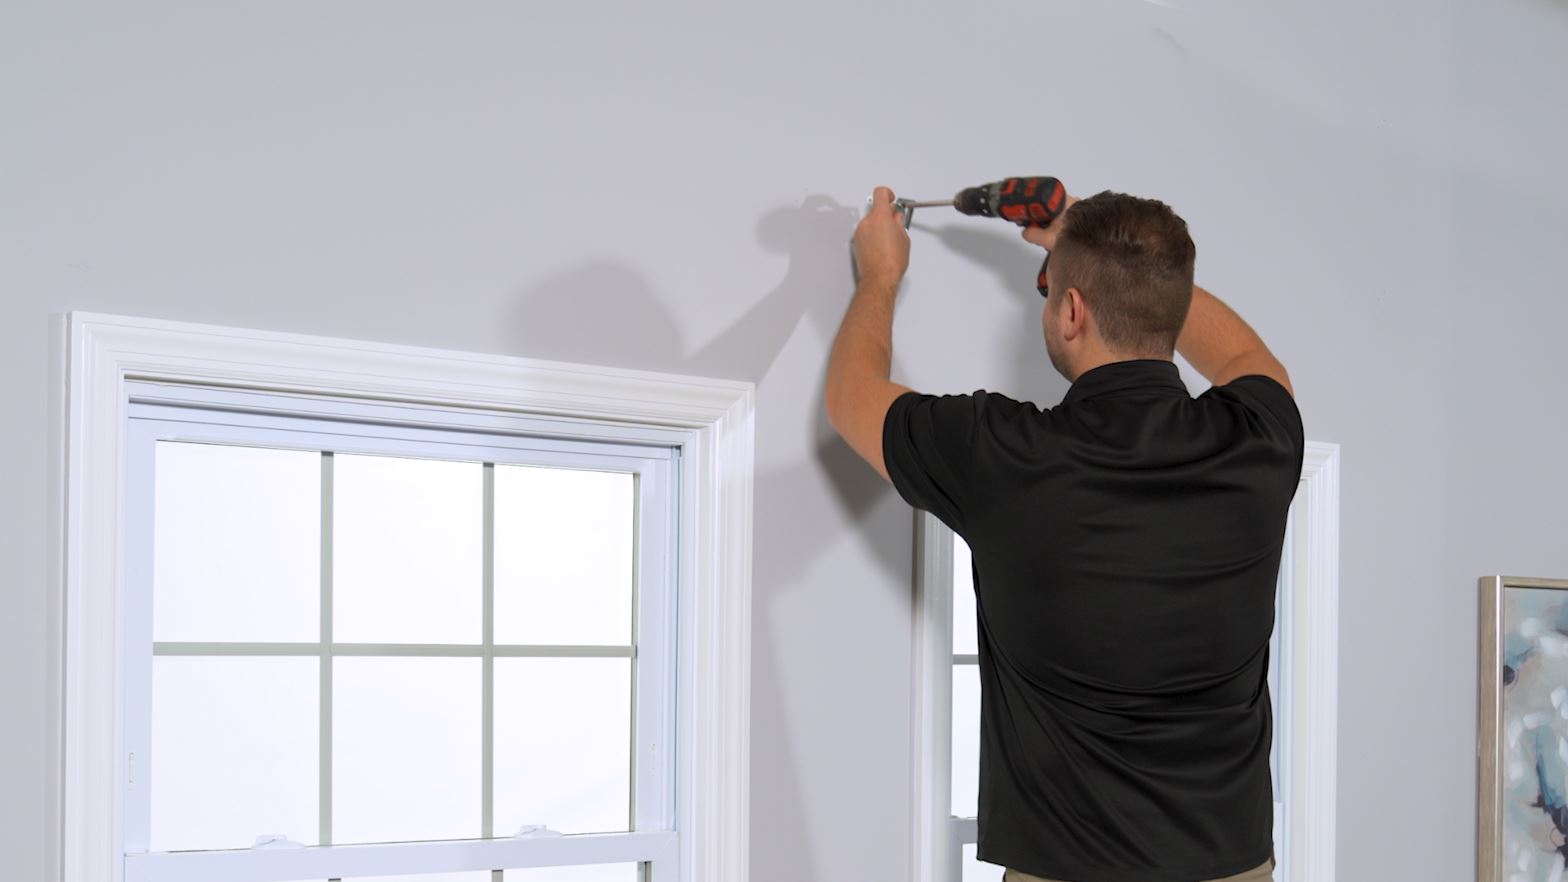
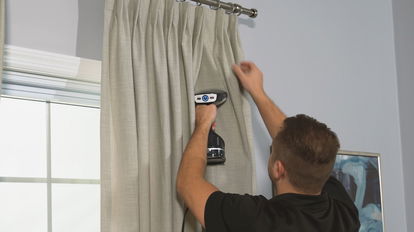
Use your allen key to unscrew the plate from the bracket. Position the bracket where your width and height markings intersect and make sure it’s straight before marking your drill points. Now you’re ready to drill the plate into your wall marks using an accurate size drill bit. Once mounted, attach and tighten the screw using the allen key before repeating the process on the opposite side.
STEP 4: Installing Drapery Rods and Attaching Panels
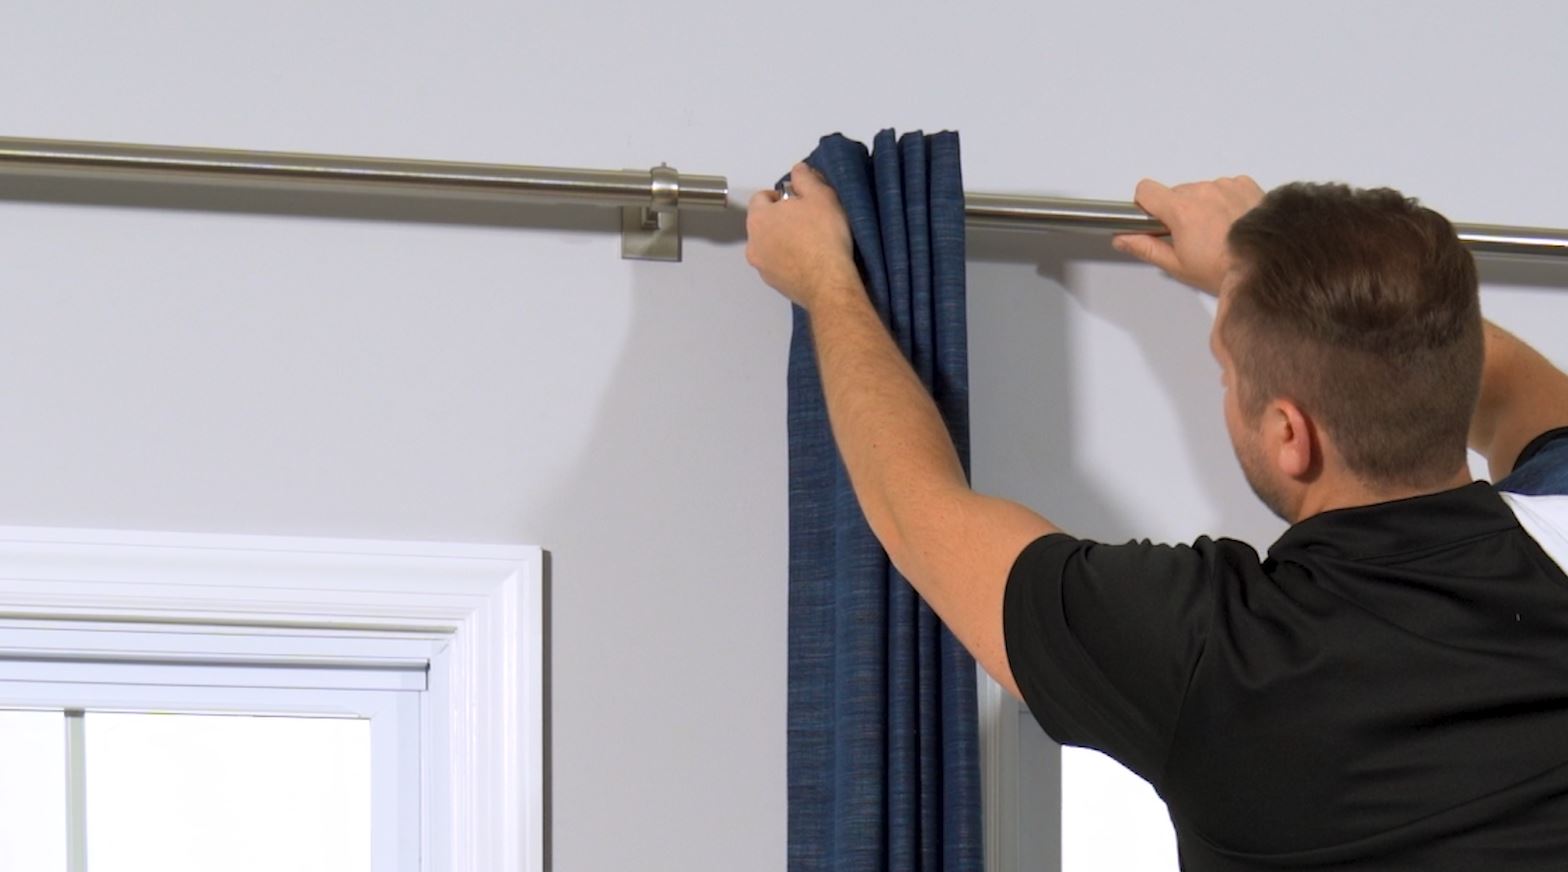
Install your drapery rod by carefully inserting it into the bracket openings. Once inside, you’ll notice a screw at the top of each bracket. Be sure to use the Allen Key to tighten the screw above for a secure hold.
When you’re ready to hang your curtains with the rods, start by loosening the screws on your brackets to release the rod. Now you should be able to remove the rod and slide the drapery panels onto the rod. Secure the panel by placing one drapery fold and it’s dedicated top treatment (Grommet, Clip Ring, Back Tab, etc.) around the outside of the mounting curtain bracket. Once completed, tighten the above screw using your Allen Key to secure the rod back in place. Lastly, put on the final touches by attaching the end caps for a complete drapery installation.
Check out our video tutorial on how to install drapery here.
Drapery Styling Tips for a Designer Look
Caring for Your Drapery: Maintenance and Cleaning Tips
Now that you know how to install your drapes, you’re probably wondering how to care and style your newly installed drapery. While knowing how to clean your curtains will depend on the material of the fabric, there are a few common practices you can keep in mind.
Use a low-suction vacuum with a brush or upholstery attachment to regularly remove dust and dirt.
For washable fabrics, it’s best to use a gentle cycle, mild detergent and cold water to prevent damage or shrinkage.
If you’re in need of more detailed instructions, look at our cleaning care guide for tips on keeping your window treatments in pristine condition.
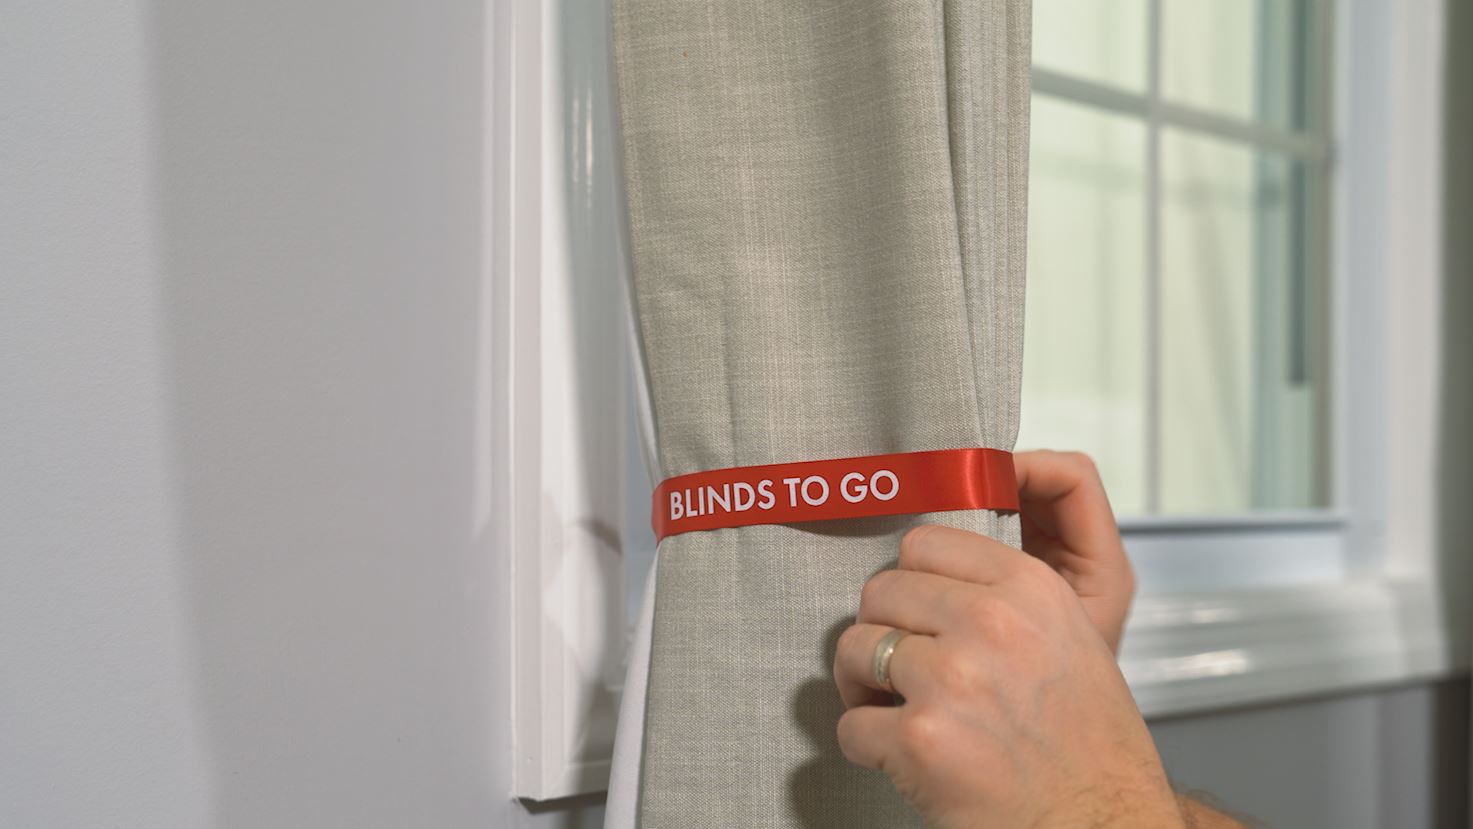
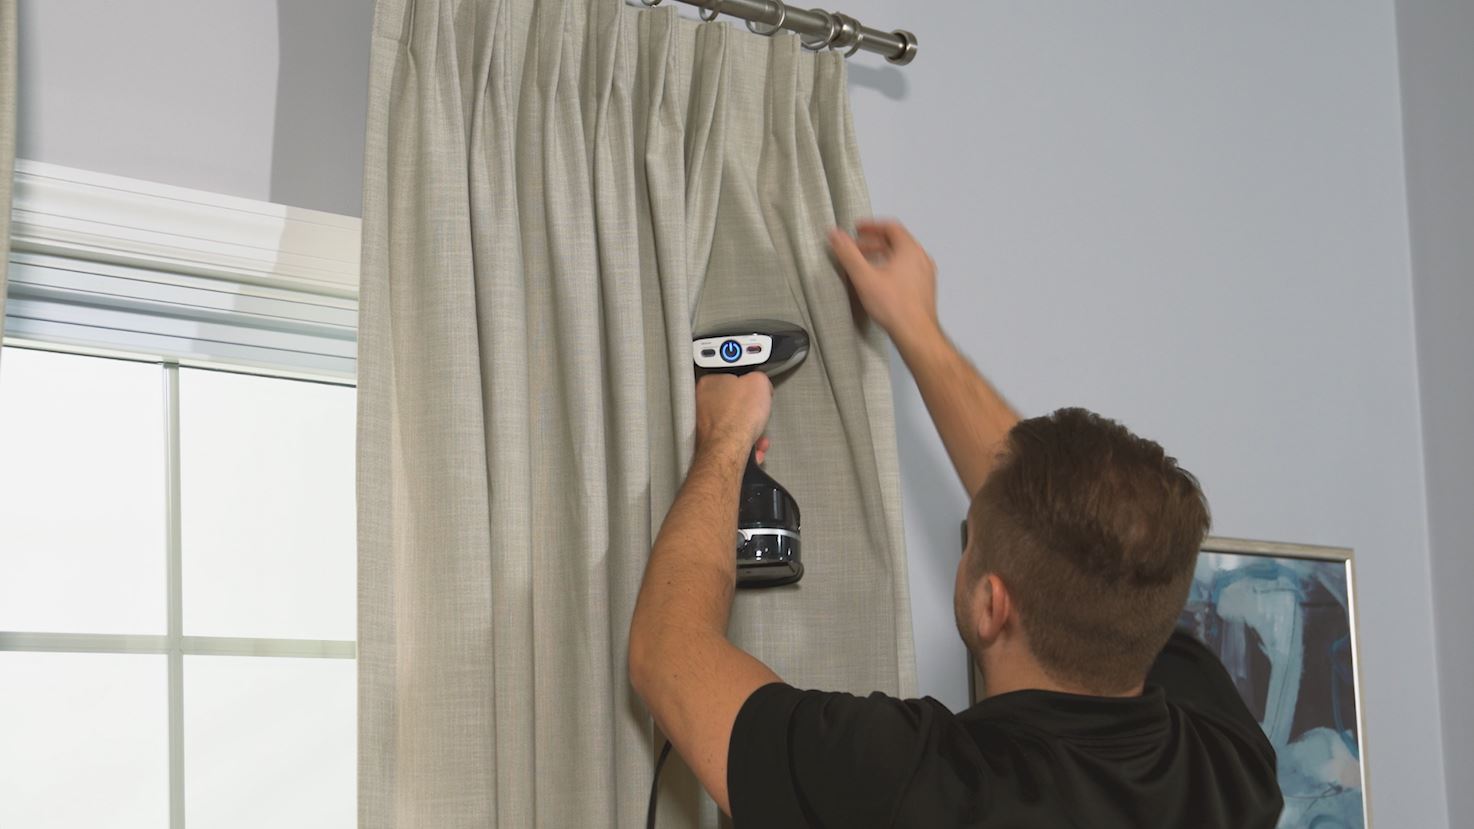
When it comes to styling your drapery panels, we recommend steaming them to smooth out any wrinkles and folds. Once steamed, line up the pleats of your panel and use ribbons to hold them in place. Our pro tip? Tie three ribbons from top to bottom on each panel and leave them on for about a week to help train the pleating of your drapery style.
Check out our How To Train Curtains To Hang Perfectly I Styling Guide for Drapes a visual tutorial to style and train your curtains to achieve interior design-worthy drapery panels.
Custom drapery from Blinds To Go is a great way to give any room a decor boost. While taking the DIY route when it comes to measuring, installing and styling your drapes can be relatively easy, relying on professionals is a sure way to make certain your drapery is installed correctly. If you find yourself doubting your skillset in any area, save yourself the work and rely on our professionals at Blinds To Go so you can simply enjoy the finished product.
Sign Up & Save $50 OFF
By filling out the above information, I agree to receive promotional emails and other communications from Blinds To Go. I understand I may unsubscribe at any time. Contact us for details or view our Privacy Policy

